Incubating Chicken Eggs: Hatch Chicks from Home
There is something special about watching your chicks hatch out of an egg. The life cycle is fascinating. What we use for cooking on one side of the kitchen is being incubated to form a living chicken on the other side. Let us show you how we hatch chicks right from home!

Why Do I Need to Incubate My Own Chickens’ Eggs?
Do you have a flock of hens? Do you have a rooster in with them? Then you can incubate and hatch chicks! It is easy. It takes only 21 days (yes, that’s the chicken’s gestation period), and the coolest part? It’s totally free once you’ve bought your incubator! Talk about profitable!
Chicken prices can be a little steep if you don’t know where to look…$20 for a laying hen if you randomly search for them. Sure, they make up their cost quickly if they are good egg layers, but what if you could cut down costs even more? Us homesteaders love to save—and make—a buck. Hatching your own chicks is a fantastic small-scale money-making venture. Even for the littlest farmers.
Chickens are just so cool. Think about it. A little creature that goes bock-bock out in your chicken coop has the potential to not only provide you with breakfast but can multiply your flock exponentially. The possibilities are limitless when you can hatch chicks for yourself!
If you have, say, 10 laying hens and a rooster out in the backyard, you can collect hopefully 8-10 eggs a day. (If laying good.) We’ll say that’s 8 eggs in the incubator. Add 8 more the next day for a total of 16 eggs.

If you have a good hatch rate, after only 21 days, that’s less than a month, you will have at most 12-16 chickens. You have doubled your flock! Don’t want to keep the ones you’ve hatched? Wait a few weeks and sell them! If you sell at even the low price of $5 a chicken, you’ve made back some of your investment in your chickens!
Hatch Chicks then Build That Farm Fund
Don’t you see here…you could be slowly building back your chicken fund, and then the money could snowball to where you can invest in maybe some larger livestock. (Goats? Pigs?)

Have I convinced you yet? Well now that I have…here’s how you can get started hatching your own chicks.
(I have placed a few affiliate links throughout this post. All this means is that if you choose to purchase through my link, I’ll receive a small commission at no extra cost to you! Thank you!)
How to Get Started Incubating
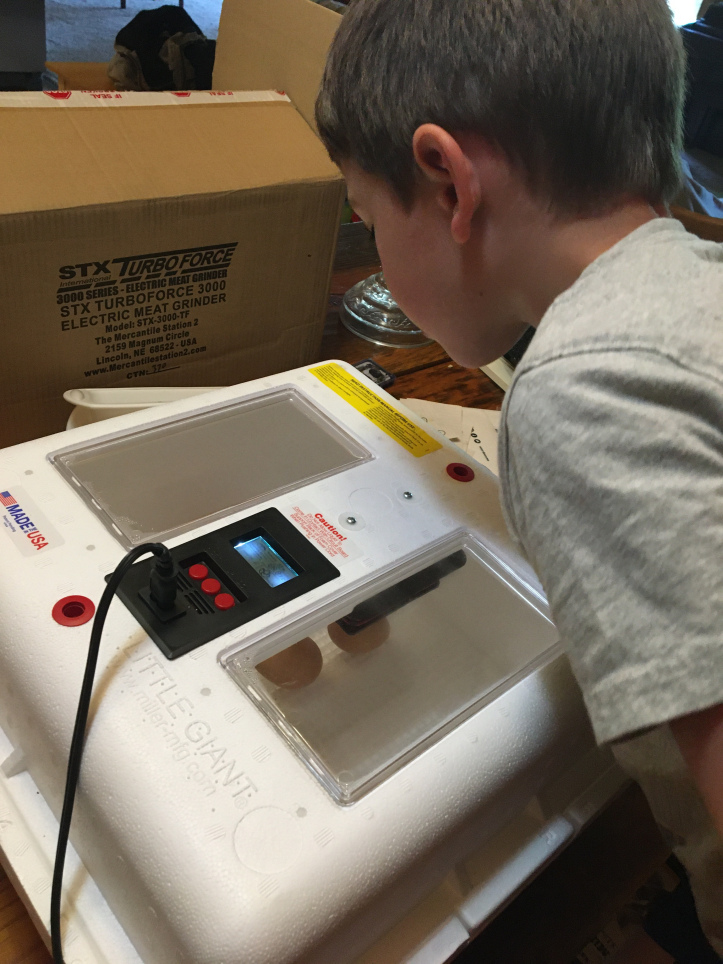
First, you need an incubator.
We use this one:
We paid just a little over $50 for our incubator. We actually bought a new one last year, after having the same one for years. Honestly, you do not need a big fancy incubator. If you follow the directions, you can have great success with something cheaper. I like the sounds of that, don’t you?
After you buy your incubator, read the instruction manual to make sure you know how to operate the incubator. They are all a little bit different, and depending on the cost, you may have to keep an eye on more things than others. (For example, self-rotating incubators.)
Pick a spot where your incubator can sit undisturbed for 21 days. I’ll be transparent with ya’ll. We sat ours on our huge kitchen table because that’s the only place where my little boys wouldn’t mess with it. (It was far away from our eating space, just so you know! We have a really long table.)
Temperature: An Important Factor In Hatching
You’ll want it somewhere that the temperature is fairly constant. The incubator will come with a thermometer, and a digital thermostat setting where your chicks will stay at a constant temperature. But no use in making your machine work harder than it has to, right?
Speaking of temperatures, the eggs must stay at 99.5 degrees EXACTLY. If eggs get too cold, they will not properly incubate, therefore resulting in a failed hatch. This is discouraging. So, we will set the temperature dial (thermostat) a few degrees higher (102 degrees at the most) on our digital thermometer to ensure the incubator will remain in the right range. (If your house is drafty, if the incubator is near a fan…there are a lot of factors to consider, so just place it somewhere most constant. But don’t get bent out of shape if you feel a draft every now and then. This is why the thermometer is so important and it’s good to keep an eye on it.)
If you get a digital incubator with temperature settings, this should be easy to keep an eye on.
Humidity
Another factor to consider is the humidity. There will also be a gauge on your digital incubator to keep an eye on this for you.
With a still air incubator, you can pour WARM water into the bottom of the tray of the incubator, and you can also mist the eggs with a spray bottle to help keep humidity. (50% – 75% humidity)
(See instructions on your own incubator to see how much water is needed in the bottom of the incubator and for specific humidity instructions.) You will want to keep an eye on this throughout the 21 days. There will be a rack for the eggs to sit on, so they will not be sitting in water.
Think Like the Mama Hen
Temperature and humidity are important. Think about the mama hen. She has natural body heat and moisture to take care of the eggs, so we are just trying to mimic the natural incubation of an egg under a chicken!
After you have a good handle on understanding how your incubator works (it’s really not hard at all) it’s time to put the eggs in!
Our Incubating Method:
Choose your eggs right out of your laying boxes in the coop! Try to get them the day the chicken has laid, although if you wait a day (or three) to collect eggs, they will be ok. But for the purpose of my post instructions, just get the eggs promptly from when they were hatched.
Do NOT wash the eggs off. Just put them in the incubator as they are. (It’s ok to scrape a huge chunk of poop or a feather off. Just don’t vigorously scrub. Little stains here and there are natural and fine.)

You will take a pencil and mark an X on one side of your egg, turn the egg over and write an O. You will be rotating the eggs twice a day, so the markings will help you know which side has been turned.
We turn our eggs every 12 hours roughly. Once in the morning (say 8:00 am) and then before bed at night (8 pm).
We’ll start with your eggs showing the X marks face up. You will place all your eggs on the rack with the X marks showing. Close the incubator lid, and check your thermometer readings.
In 12 hours, you will be rotating your eggs. Here’s how you will do that:
Open the incubator lid gently and place it beside the incubator. Gently use your fingers to roll the egg (gently!) to the O side. Rotate all the eggs like this. Avoid picking up the egg or handling it too much. Work as quickly as you can because you are losing heat from the incubator.
After all the eggs have been rotated, replace the lid and check your temp and humidity. If after a few days you need to add more water, be sure it is warm, to keep the temperature constant.
That’s it!

Don’t Forget A Calendar
**Oh—be sure to mark your start date on a calendar! Then count 21 days and write “Hatch Day!” You’ll be using your calendar during these 21 days.**
Now you will do that same rotating thing in another 12 hours! So simple. A great project for a little boy, let me tell you. It teaches responsibility and gentleness. Winner winner!
Hopefully this post has got you covered on how to get started incubating your chickens’ eggs. The next post in this series will be about “candling” your eggs, and what to do on hatch day. On Day 7-10, you will begin candling. So be sure to read the next post to complete your incubation instructions so you can hatch chicks yourself.
Incubating Chicken Eggs: Candling and Hatching
Good luck chicken farmers, and let us know if you have any questions about raising chicks!
Be sure to check out our other posts in Farm Life!


The Most Common Egg Questions–Q&A with The Farmer – J&R Farms
[…] Interested in raising your own chickens from eggs? Read Incubating Chicken Eggs: Start Hatching at Home […]
A Quick Guide to Raising Chicks – J&R Farms
[…] to up your chick game? Hatch your own with an incubator! Read this post to learn […]
Incubating Chicken Eggs: Candling and Hatching – J&R Farms
[…] my recent post, Incubating Chicken Eggs: Start Hatching from Home, I gave you a bunch of reasons why you should hatch your own chicks and how to get the process […]
The Most Common Egg Questions Answered: Q&A with The Farmer | J&R Farms
[…] Interested in raising your own chickens from eggs? Read Incubating Chicken Eggs: Start Hatching at Home […]